Getting Your Mercury UV Curing Tubes Actually Right
Let’s be honest: most off-the-shelf bulbs are just… fine. But if you’re running a serious OEM line, “fine” doesn’t cut it. You’ve got a specific conveyor speed and a specific substrate. You need a lamp that actually fits your workflow, not one you have to bend your process around.
The Balance of Power and Heat
We build these tubes to take a beating. Here’s the thing about wattage: it’s not just a number on a spec sheet. It’s what determines how much “punch” your coating gets. More wattage means more photons, which means your curing time drops. It sounds like a win-win, but there’s a catch. Heat. If you crank up the wattage without enough airflow to cool things down, that quartz envelope is going to cook itself. It’ll burn out way too fast. To help with that, we’ve tweaked the electrode mix to stop “sputtering”—that annoying cloudiness that creeps into the glass. It keeps the light clear and keeps the bulb alive longer.
Making it Yours
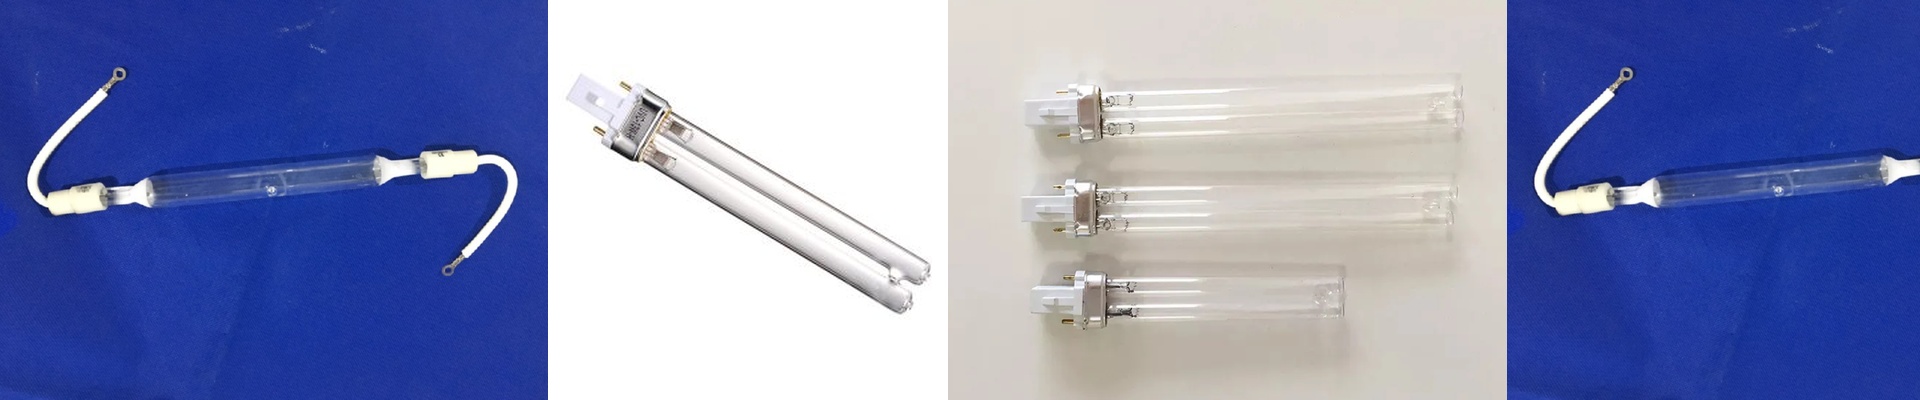
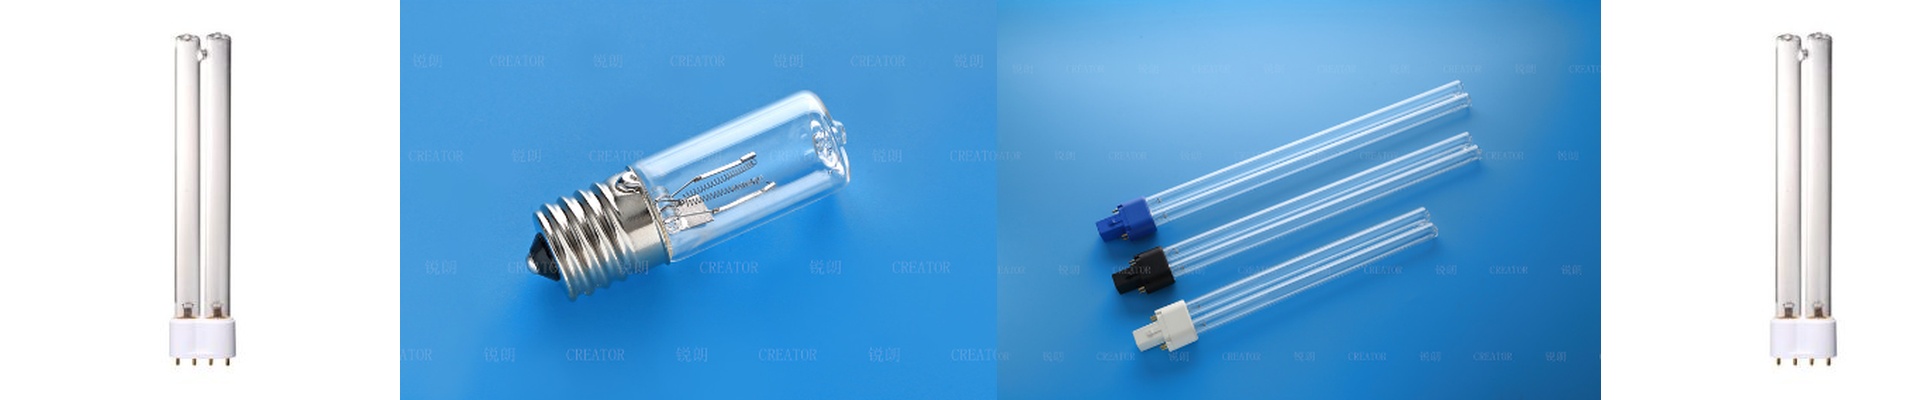
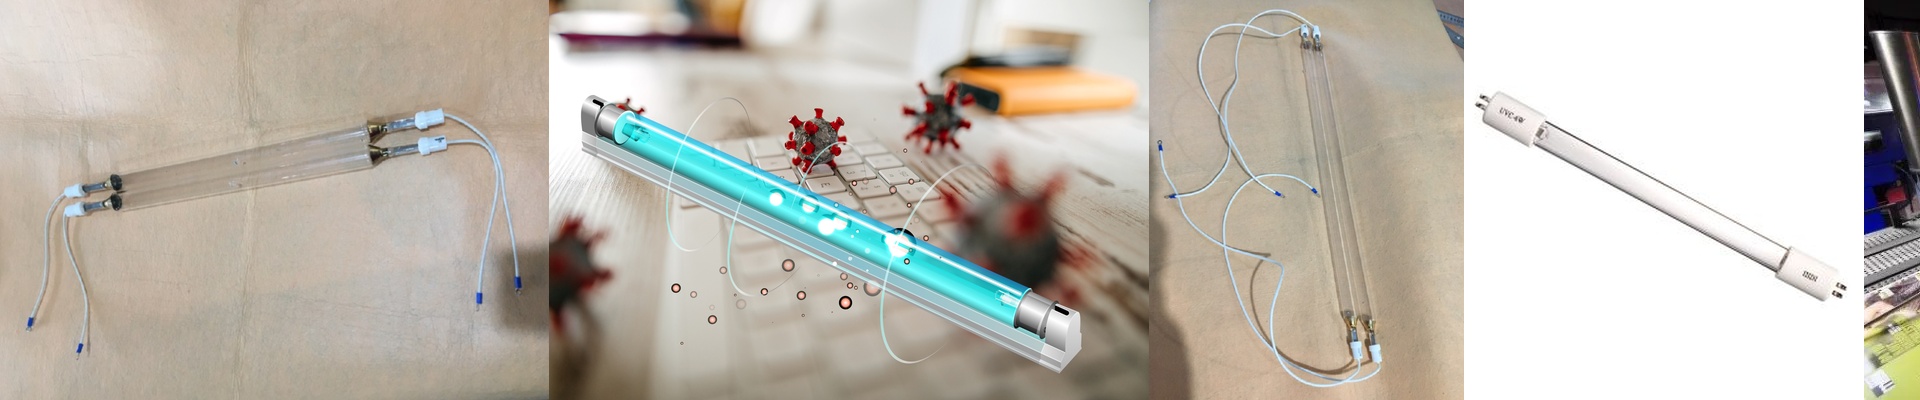
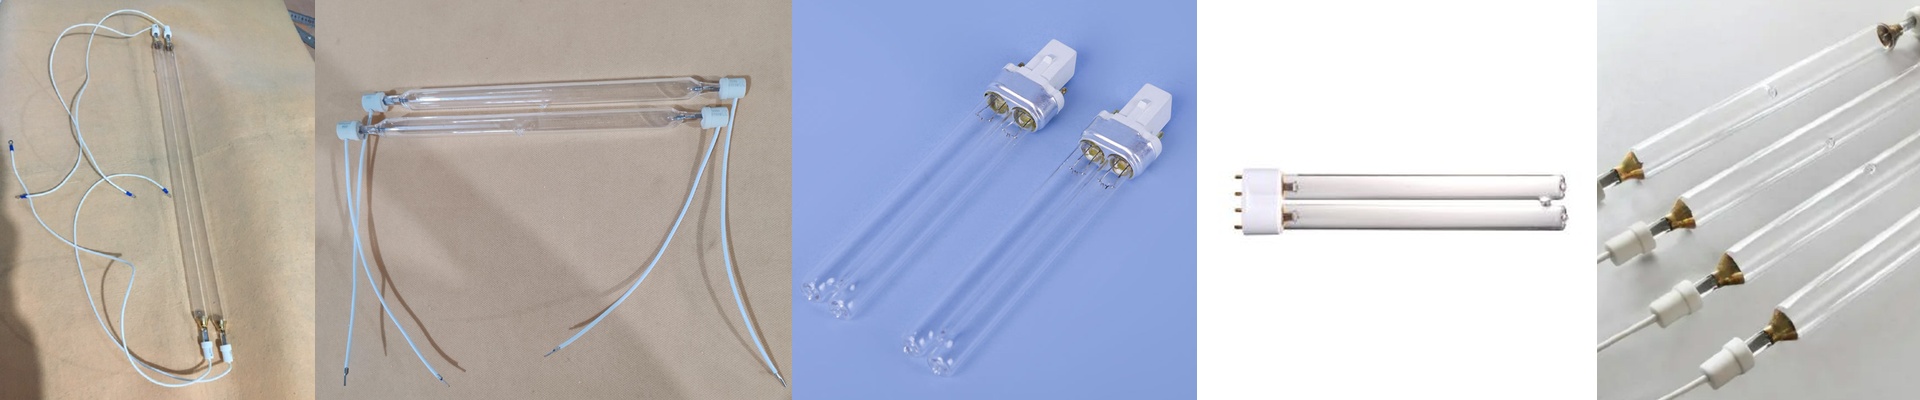
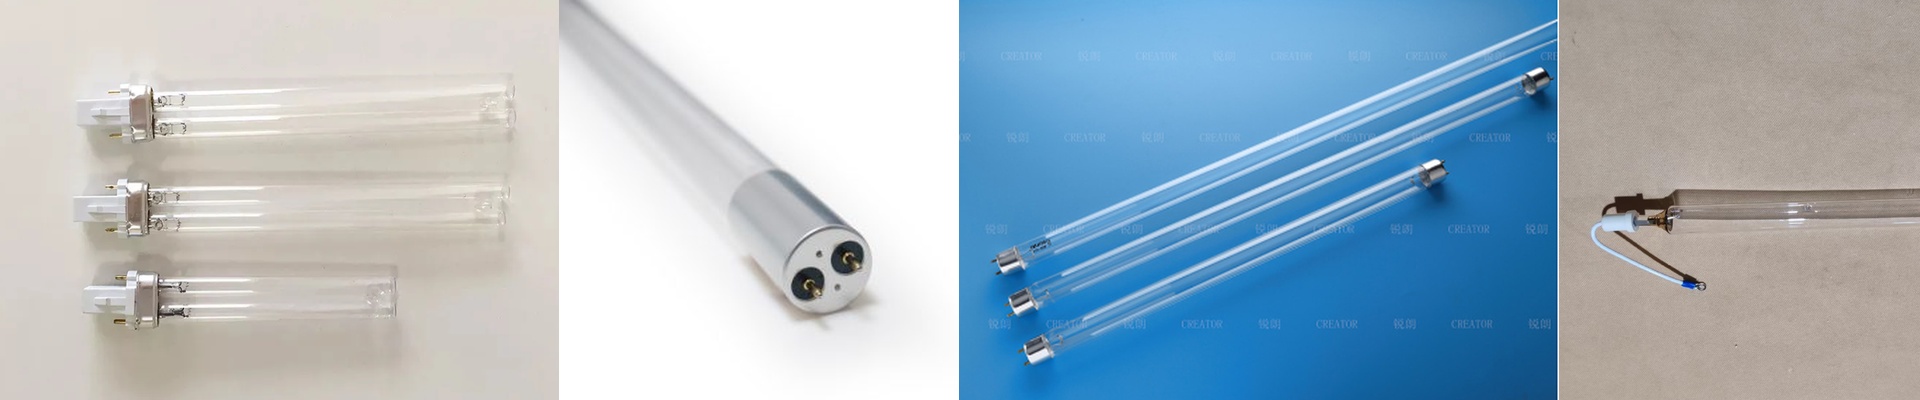
We use high-purity fused quartz because it lets the UV light through without fighting it. But the real value is in the customization. Maybe your reflector housing is a weird shape. Maybe you have a proprietary pin layout that makes standard bulbs useless. We can fix that. We’ll adjust the length and the end-caps so the tubes slide right in. You get to put your own brand on the hardware, and it just works.
The Trade-offs You Should Know
You can’t have everything. If you want a tube that lasts forever, you have to balance pressure and heat. Pushing more mercury pressure into the tube gives you a massive boost in UV-C and UV-B radiation. Great for speed. But it puts a lot of stress on the electrodes. Plus, you have to make sure your ballast can handle the impedance. If the ballast is too weak, you’ll get flickering or the arc will just fail the moment it starts. It’s a headache nobody wants. To avoid that, we’ll give you the exact electrical curves. That way, you can wire it up once and forget about it.